

Horizontal Murphy bed: key takeaways
A horizontal Murphy bed folds down sideways rather than lowering from a vertical cabinet. In Part of ThinkMakeDo’s build, Phil explains how he plans a side-fold bed around an inexpensive spring hardware kit—and how he has to work out the pivot-plate layout because the supplied instructions don’t include dimensions.
Before cutting, Phil models the cabinet and rotating bed frame in SketchUp. He finds that a 3D model makes it easier to understand how the parts move than his initial paper sketches. He also tests the pivot placement on scrap material before committing to the final frame.
The project is shown at the planning, frame-building, and hardware-test stage, not as a finished installation or tested product. The practical lesson is to check the mattress and cabinet clearances, test the hardware’s full motion, and plan the legs and wall attachment before final assembly. A horizontal Murphy bed depends on those details as much as on the cabinet itself.
- Measure your actual mattress and hardware; don’t treat example dimensions as a cut list.
- Mock up the pivot and test the swing before drilling final holes.
- Plan stable legs, secure wall anchoring, and safe operation.
Use Phil’s horizontal Murphy bed build as a planning reference, not as proof of a kit’s load capacity or long-term durability.
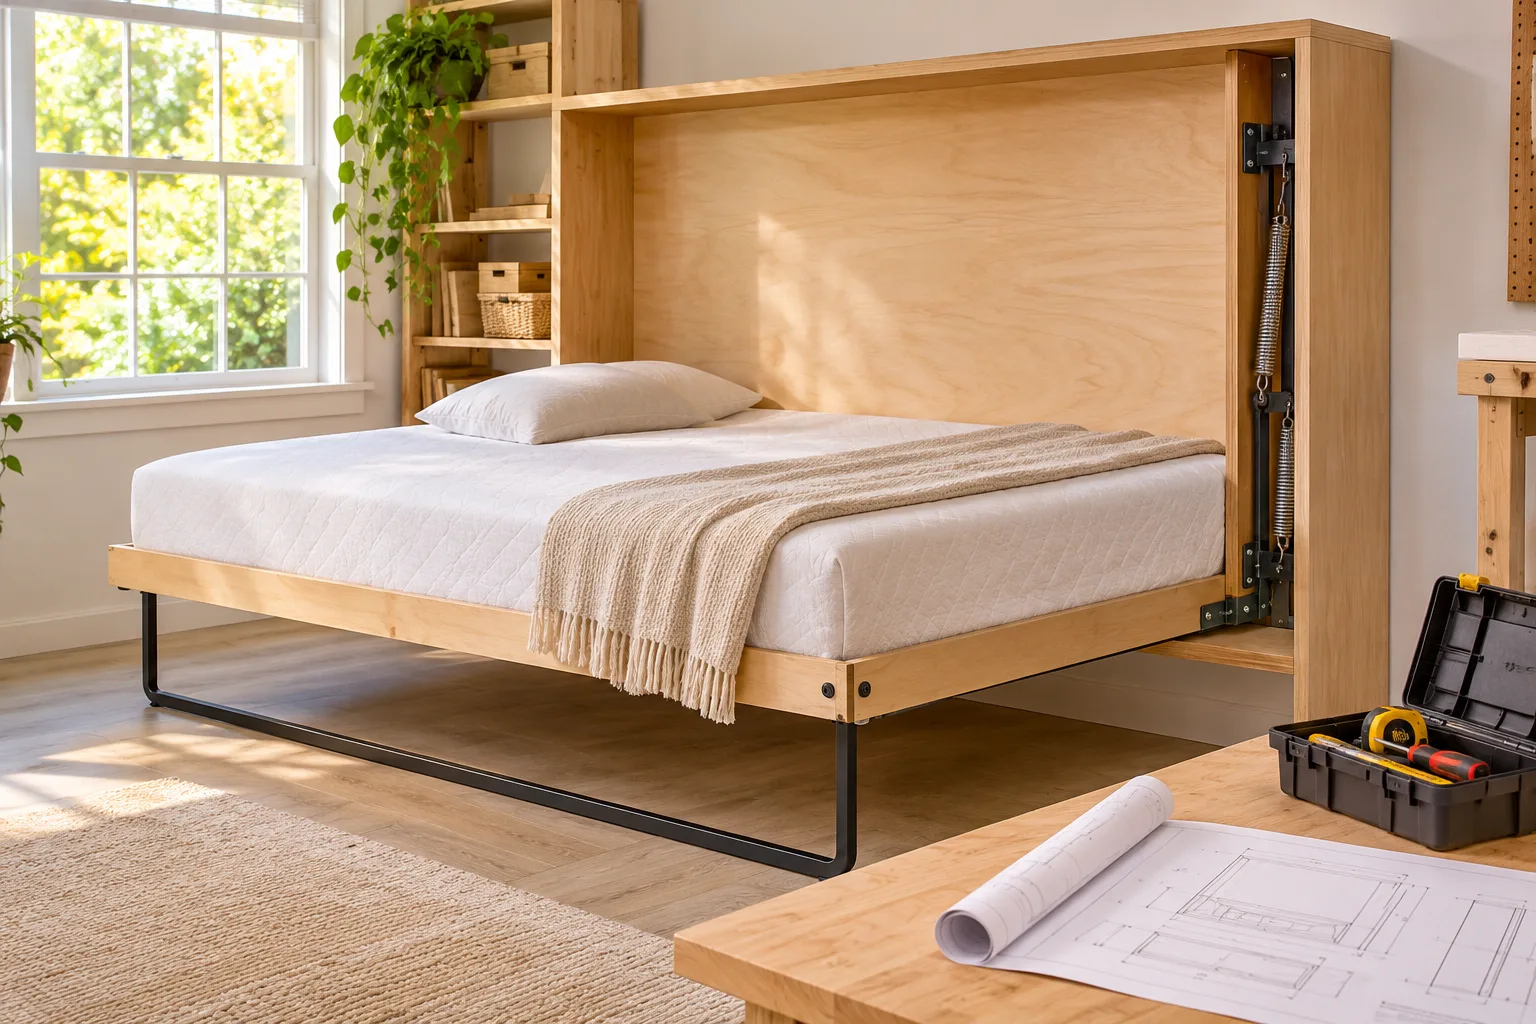
What makes a horizontal Murphy bed different?
A horizontal Murphy bed is a side-fold wall bed: its mattress platform rotates down sideways from a cabinet. In a vertical design, the bed lowers from the cabinet’s taller edge, with the mattress extending farther into the room. That difference changes the available room layout and the geometry the builder must plan.
It also affects the hardware’s orientation and load. Phil notes that many Murphy bed hinge systems are designed for beds that lower vertically, while the kit he selected is described as suitable for both horizontal and vertical arrangements. That statement applies to his chosen kit; it isn’t a reason to assume every kit can be mounted either way. Confirm the manufacturer’s specifications and installation directions for your exact model.
The sideways opening direction may suit low-ceiling rooms or rooms where a tall vertical cabinet and its downward-opening bed would be awkward. Whether it works depends on the room: the bed still needs an unobstructed swing path and enough floor space when open.
- Draw the bed closed and fully open, viewed from above and from the side.
- Check nearby doors, furniture, walkways, and ceiling obstructions.
- Verify that the hardware supports the intended orientation and mattress size.
When planning a horizontal Murphy bed, think of the pivot, legs, and room layout as one system. A cabinet that fits the wall may still fail if the platform collides with furniture or the legs cannot land flat.
Choose a Murphy bed hardware kit
The horizontal Murphy bed in Phil’s video uses an enclosed spring-lift mechanism. He describes several springs inside the unit that counterbalance the bed. A gas piston lift mechanism uses gas struts for that purpose instead. These are different approaches, but the video provides no comparative test results for lifting effort, durability, or performance; don’t treat it as evidence that one type is better.
Before purchasing a Murphy bed hardware kit, compare its stated compatibility with your mattress, frame dimensions, and bed orientation. Check installation requirements, expected operating effort, availability of replacement parts, and any manufacturer load limits. Ask what components are included rather than assuming the kit contains everything you need.
Phil’s kit includes spring hardware, pivot plates, and a folding leg system. Other items—such as auto-locking pivot plates or a mattress retention strap—should be confirmed from the product listing or manufacturer. Their inclusion and design may vary between kits.
- Read the assembly instructions and dimensions before ordering.
- Confirm horizontal mounting is approved for the specific kit.
- Check the hardware’s required fasteners and frame layout.
- Contact the manufacturer if the plate placement or installation details are unclear.
Phil says his Amazon bed springs came with sparse instructions and no clear dimensional diagram for plate placement. That made a reversible scrap mock-up useful. Don’t drill final pivot holes based on guesswork when the manufacturer can clarify the layout.
Measure the mattress, cabinet, and room before cutting
Phil cites a typical horizontal Murphy bed envelope of about inches deep, inches tall, and inches wide. Treat those figures as a starting reference only, not universal dimensions or a plan for a particular mattress. Your mattress, hardware, frame, and cabinet design determine the actual measurements.
Begin with the mattress, including its thickness. Record the platform’s planned bed-frame dimensions, the space needed for a comforter, and the clearances around moving parts. Then note the pivot location, cabinet depth, and the gap between the mattress and cabinet when closed. For a queen-size mattress, derive the platform and cabinet dimensions from the mattress measurements and the kit specifications; don’t rely on an assumed cut size.
Model both open and closed positions in SketchUp or another planning tool. Phil used SketchUp to clarify the cabinet dimensions and rotating frame, then lowered his planned pivot several inches above the platform’s bottom to make room for bedding storage above. He later found that his measurements left no room for the intended kick plate and had to remove it.
- Measure the intended wall, ceiling height, and clear floor area.
- Mark doors, furniture, trim, and other obstructions.
- Trace the platform’s full swing path and check leg landing points.
- Include bedding space and realistic mattress clearance in both positions.
Recheck every measurement before cutting. A horizontal Murphy bed can appear to fit as a closed cabinet yet collide with the room when opened.
Plan the plywood cut list, tools, and budget
Phil’s cabinet approach uses ¾-inch plywood for the solid sides and top, with braces across the back instead of full plywood back paneling. He explains that reducing the amount of sheet material helps avoid an unnecessarily heavy piece while still providing support. The design still needs to be square and rigid; a lighter cabinet is not a reason to leave it inadequately braced.
Prepare a dimensioned plywood cut list only after confirming the mattress, hardware, and final cabinet measurements. The video demonstrates a general construction approach, not a complete cut diagram or dimensioned plan for every mattress size. List each part, its finished dimension, material thickness, and quantity, then check that the layout fits the plywood sheets before cutting.
Useful tools for the work include a measuring tape, clamps, a power drill, a pocket-hole jig, and a circular saw or table saw for sheet goods. Use the saw and other tools according to their instructions, and support large panels securely while cutting.
The video does not give a complete project budget. Use this worksheet to price your own build:
- Plywood: grade, number of sheets, and expected cutting waste.
- Hardware kit, fasteners, finish or laminate, and mattress strap if needed.
- Tools you must buy or rent, plus delivery or shipping.
For a horizontal Murphy bed, estimate waste after arranging the verified cut list, not before. The final cost depends on those choices, so the video cannot establish a universal build price.
Build the wall-bed cabinet and rotating frame
Build the horizontal Murphy bed cabinet in an order that lets you establish its shape before installing moving hardware. Phil first connects the outer-frame corners, then plans perimeter members to stiffen the box and help make it square. After that, the inner structure and bed platform can be built to the verified mattress and hardware dimensions.
- Cut and identify the cabinet parts from your checked cut list.
- Join the outer corners and check the frame for square.
- Add the planned top, back braces, and perimeter structure.
- Build the rotating bed platform and its internal supports.
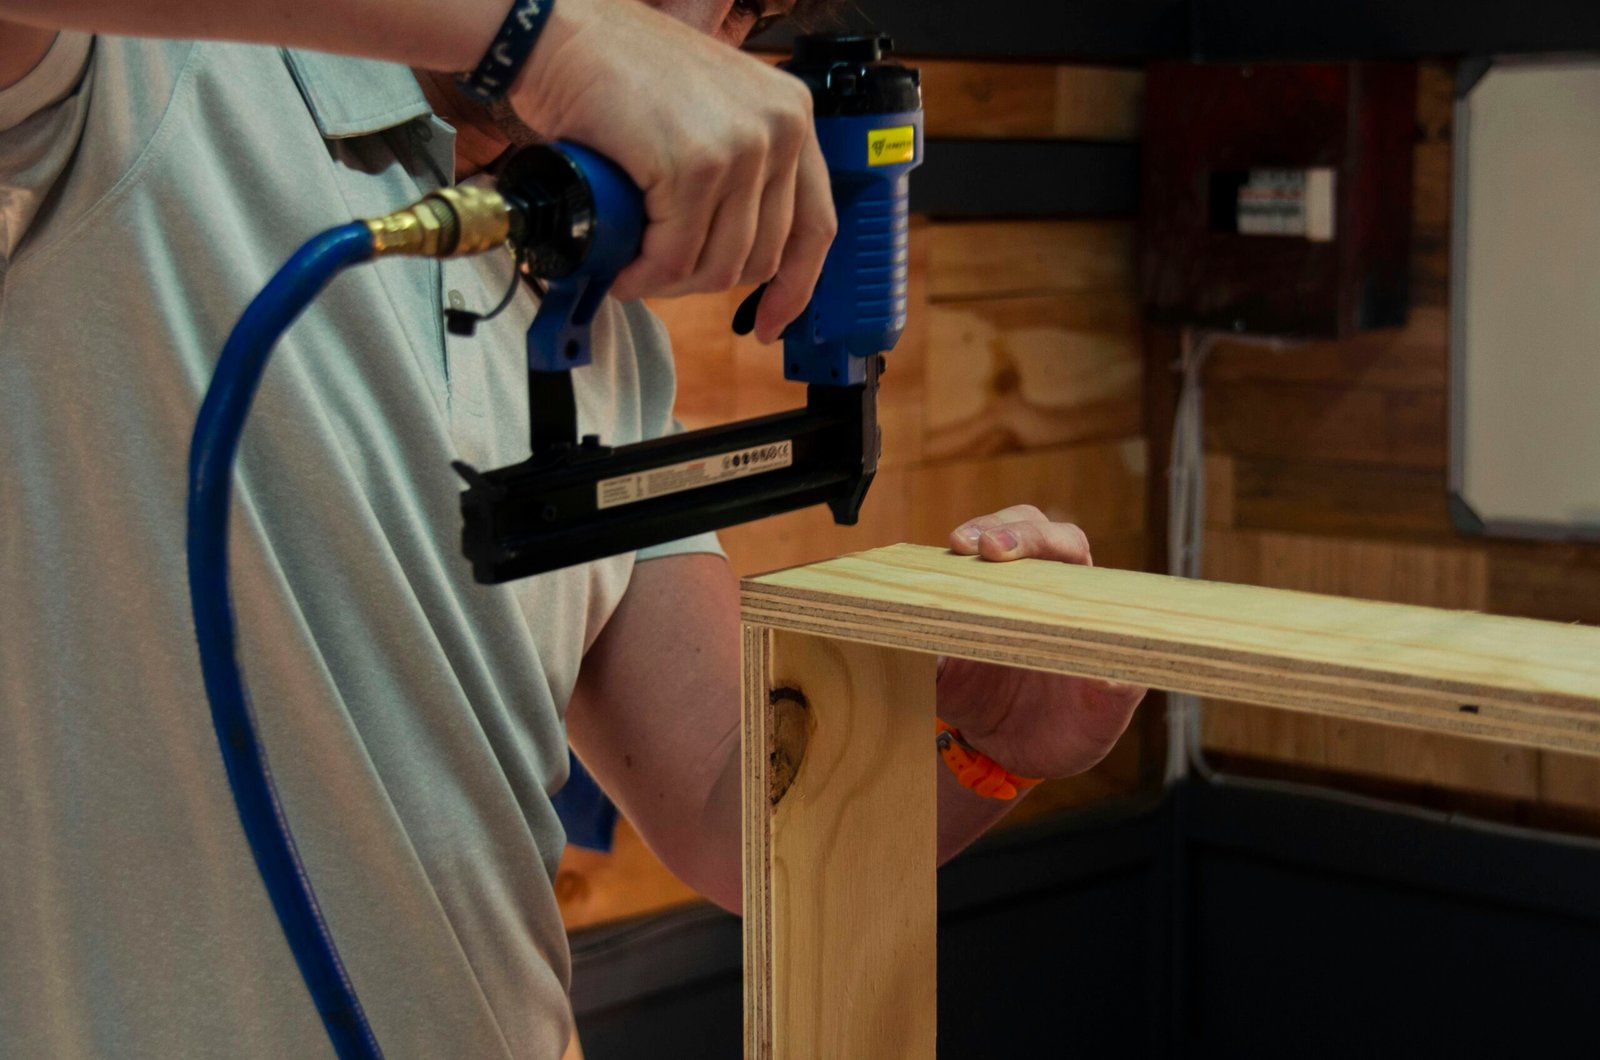
Phil uses glue and pocket-hole screws. During his first use of the jig, some screws don’t recess as intended. Before assembling visible surfaces, test the jig setup and screw depth on scrap; check the finished joint before repeating the setting across the cabinet.
The creator notices slight bowing in a plywood side and plans additional structure to establish squareness. Braces can support a cabinet without a full back panel, but only if the resulting assembly stays rigid and square. Check diagonals and alignment as you add members, and correct distortion before attaching pivot plates.
A 3D model is especially helpful for the rotating frame. It lets you examine the platform’s movement, leg position, top storage, and closed-state gaps before cutting. The horizontal Murphy bed must clear the cabinet through the whole rotation, not just at its endpoints. Compare the physical parts with the model as you build; revise the plan if the real hardware occupies more space than expected.
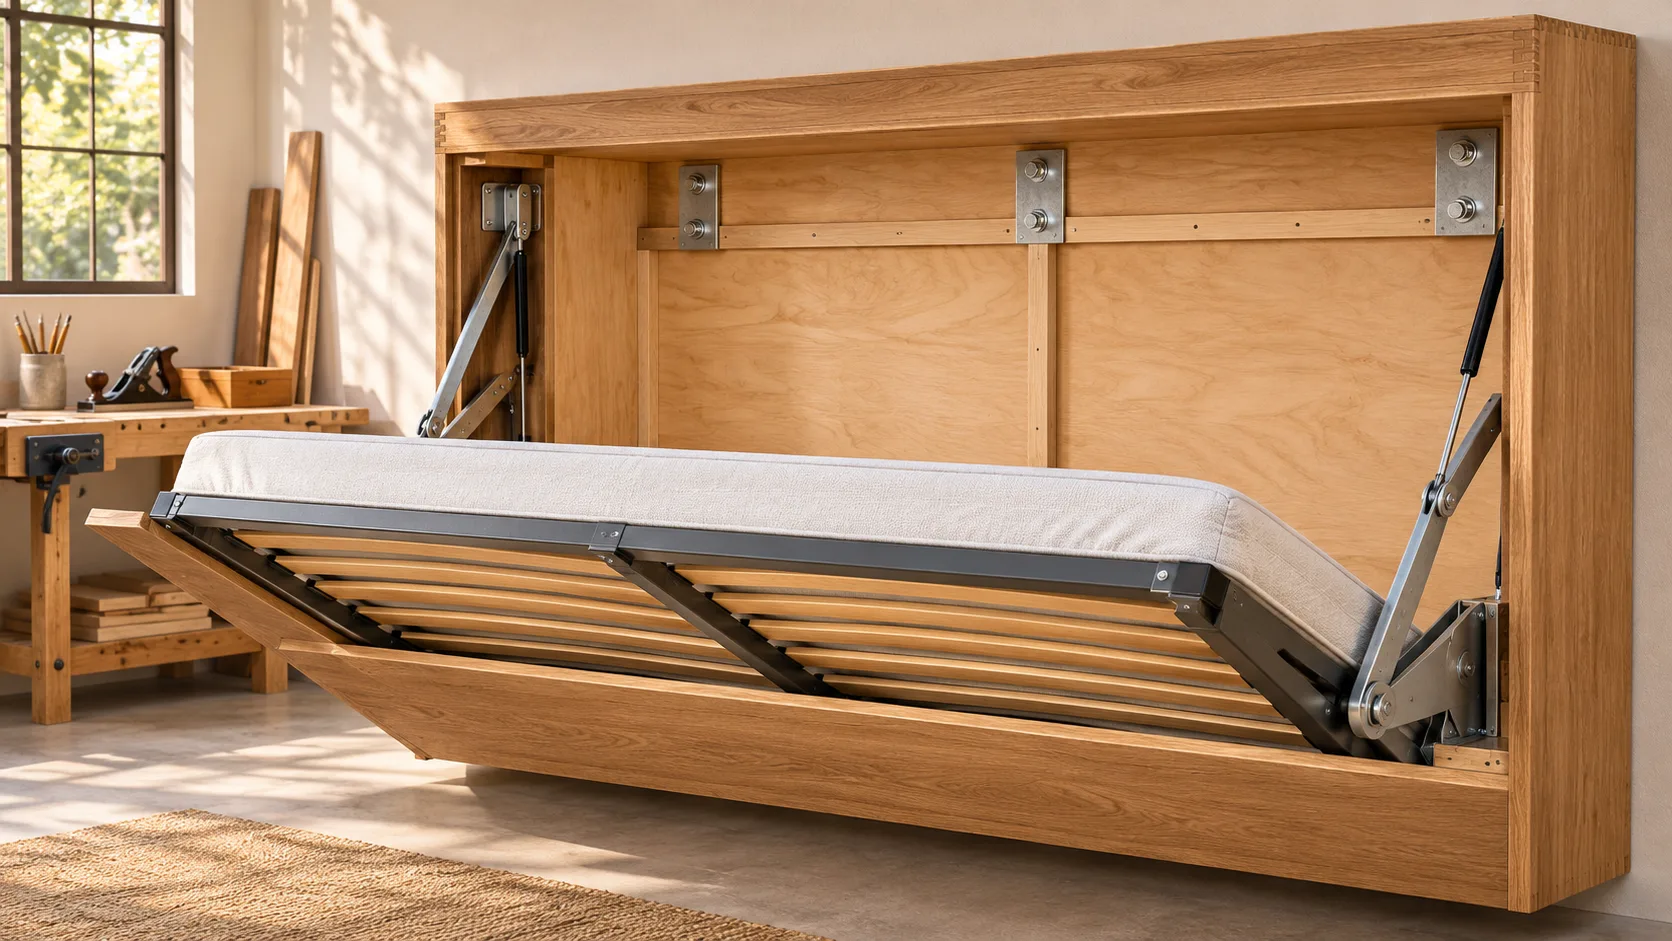
Fit the pivot plates, legs, and mattress restraints
Phil’s horizontal Murphy bed hardware test starts with scrap: he attaches a pivot plate temporarily, estimates a pivot point, and swings the mock-up to see how it moves. He then plans to repeat the layout on the other side. This is a practical way to learn from unclear instructions, but final placement should still follow manufacturer guidance wherever it is available.
Phil says a cabinet cavity around inches deep gave him room to try pivot positions without the bed hitting the back wall. That observation describes his mock-up, not a guaranteed clearance for other builds. Check your own platform length, pivot position, cabinet depth, and complete swing path in the model and with a physical test.
Align the folding leg system so the legs land stably when the bed is open and fold without striking the cabinet when it closes. Phil finds that the kit legs need shortening for his setup. Don’t copy that adjustment automatically: confirm the required leg length and support position for your frame.
- Check pivot-plate clearance and alignment on both sides.
- Verify bolt length; Phil finds bolts that appear too long during the test fit.
- Place the mattress retention strap so it restrains bedding without obstructing movement.
- Confirm how any auto-locking feature works, if the kit specifies one.
Test the horizontal Murphy bed with temporary fasteners and scrap before replicating the layout permanently. A small alignment error can become binding, uneven support, or a closed cabinet with poor gaps.

Anchor the cabinet and test the bed safely
Wall anchoring and anti-tip planning are essential parts of a horizontal Murphy bed project, even though Phil’s installment does not show a completed wall installation. Identify suitable wall framing, select fasteners appropriate for the wall and cabinet, and follow the hardware maker’s installation directions and load limits. If the wall construction or required attachment is unclear, get qualified help rather than guessing.
Before adding a mattress, check that the cabinet is square, pivot plates are securely fixed, and the legs support the open platform in stable positions. Move the bed gradually through its travel and stop if it binds, shifts, or makes unexpected contact. Keep hands and other people clear of pinch points while testing.
Don’t assume an inexpensive kit is safe for your particular mattress simply because a mock-up moves. Confirm compatibility and capacity from the manufacturer, and don’t exceed its stated limits. The creator’s test shows that his mock-up can swing; it is not a published load test or proof of long-term durability.
- Secure the cabinet as specified before normal operation.
- Test the empty frame slowly, checking the full path and both legs.
- Inspect fasteners and clearances; correct any movement or binding.
- Only proceed with the mattress after confirming the hardware’s suitability and installation.
A horizontal Murphy bed is a large moving assembly. Treat anchoring, pinch-point awareness, and controlled testing as prerequisites, not final touches.
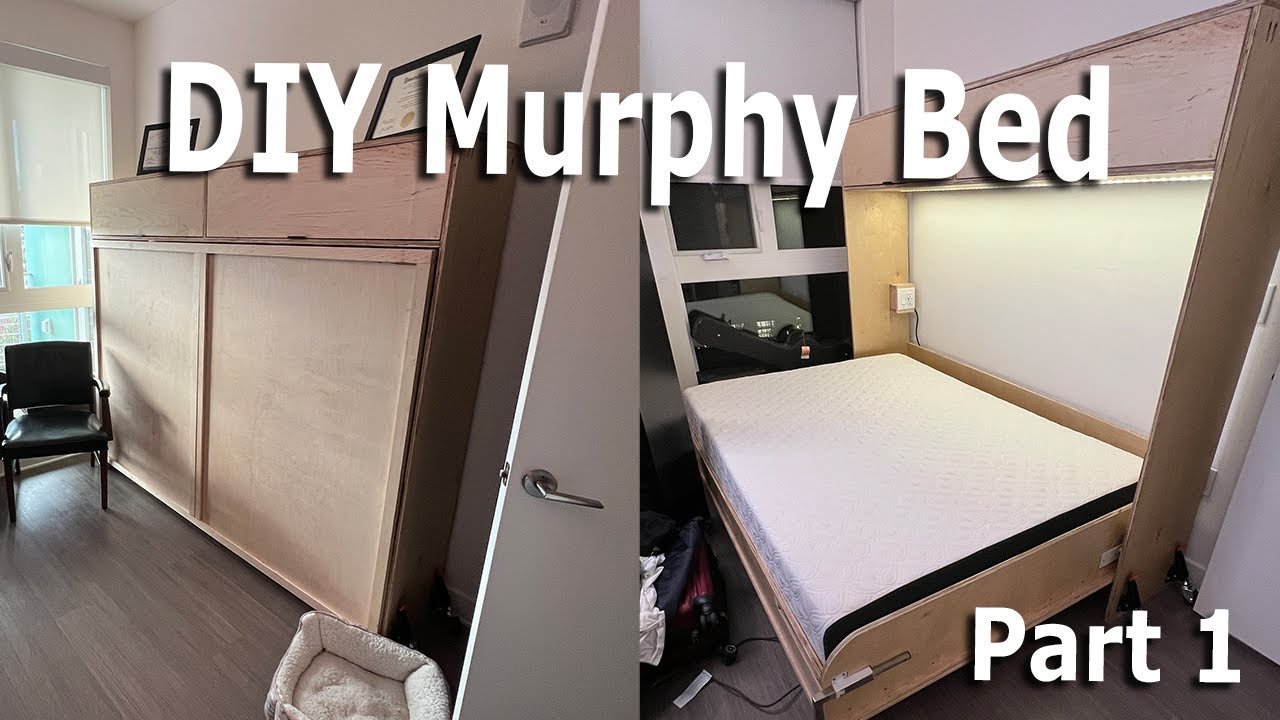
Common planning mistakes and troubleshooting
Unclear instructions are one of the main obstacles in Phil’s horizontal Murphy bed project. He finds no dimensional diagram showing where the plates should go, so he tests a temporary layout on scrap. If your kit documentation is incomplete, identify each component, ask the manufacturer for missing installation guidance, and make a reversible mock-up before drilling final pivot holes.
Measurement mistakes can affect several parts at once. Phil says he mismeasured and had to remove his planned kick plate. Recheck the mattress, bedding allowance, pivot height, footer or kick plate, and closed-state gaps against both the drawing and the physical frame. Don’t assume that a cabinet dimension that worked in the model still works after adding real hardware.
If the bed binds or won’t close, troubleshoot systematically:
- Check whether the cabinet is square or has bowed.
- Compare pivot positions and plate alignment from side to side.
- Look for bolts that are too long or parts contacting the cabinet.
- Confirm the legs fold clear and land correctly when open.
- Review the modeled swing path and mattress clearance.
Phil’s video shows cabinet construction and a preliminary hardware test, not completed finishing, wall anchoring, or a final load test. Keep that scope clear when using it as a horizontal Murphy bed reference: copy the planning and testing discipline, but obtain the missing specifications for your own kit and complete the safety checks before use.
Conclusion: plan the horizontal Murphy bed before cutting
The strongest lesson from Phil at ThinkMakeDo is to resolve the moving geometry before committing to a finished cabinet. His SketchUp model clarifies the box and rotating platform; a scrap test helps him estimate pivot placement when the kit instructions are sparse. Neither replaces verified dimensions, manufacturer guidance, or safe wall attachment.
For your next steps, measure the mattress and room, confirm that the hardware supports the intended orientation, and model the open and closed positions. Then prepare the cut list and budget, build a square cabinet and platform, and test the plates and legs before final assembly. Finally, anchor the cabinet appropriately and test the empty mechanism gradually before adding a mattress.
Use the video as a project-planning reference, not a complete set of build plans. Phil’s mock-up moves, but his installment does not provide a universal cut list, complete cost, finished installation, or proof of load capacity. Your horizontal Murphy bed should be dimensioned and checked for your own room, mattress, and hardware.
Key Takeaways
- Measure the actual mattress, hardware, room, and swing path before preparing a cut list.
- Model the cabinet and rotating frame, then test pivot placement on scrap before drilling final holes.
- Confirm hardware orientation, compatibility, included components, and manufacturer instructions.
- Keep the cabinet square and rigid, and ensure the folding legs support the open platform.
- Anchor the cabinet appropriately and test the empty bed gradually; a moving mock-up is not a load or durability test.
Frequently Asked Questions
What is the cheapest way to build a Murphy bed?
Phil demonstrates choosing inexpensive Amazon bed springs, but the hardware is only one part of the cost. Plywood, fasteners, finish, tools, delivery, and cutting waste also affect the total, and the video gives no complete project price.
Is it cheaper to buy or build a Murphy bed?
It depends on the hardware, materials, tools, and the options included with a purchased bed. Phil’s video doesn’t provide a direct price comparison, so price a complete materials list and compare it with the specific prebuilt Murphy bed you’re considering.
How do I build a DIY horizontal Murphy bed?
Measure the mattress and room, check the hardware specifications, and model the cabinet and full pivot motion before cutting. Build a square cabinet and bed frame, test-fit the pivots and legs, then anchor and test the assembly according to the kit instructions.
Do they make horizontal Murphy beds?
Yes. Phil says the kit he selected is intended to work in both horizontal and vertical orientations. Confirm that the particular kit you buy is approved for horizontal mounting.